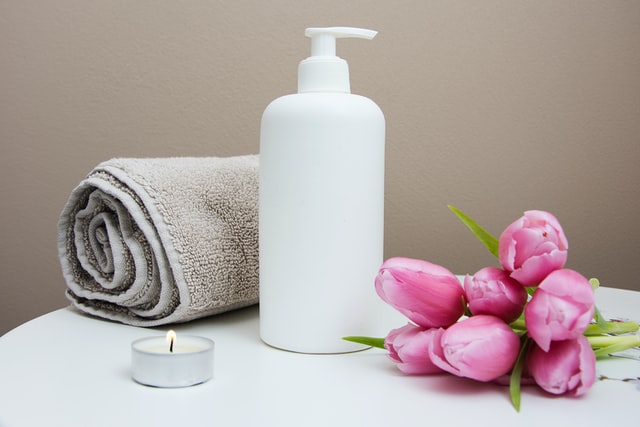
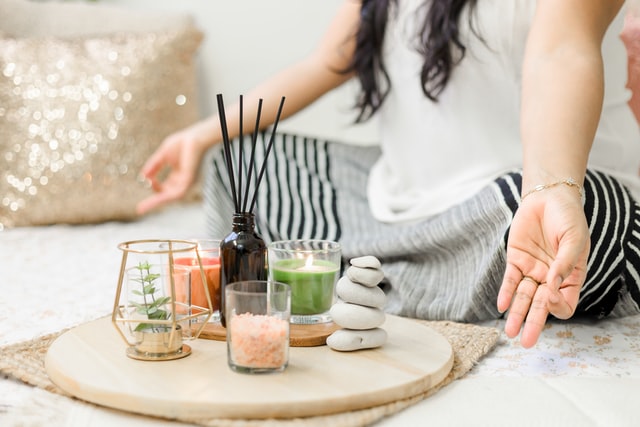
Spa days are overpriced, but you can make your own spa day at home. You can buy many different products at your local store or online, and they are all much cheaper than visiting a spa. To make the most out of this at-home spa day, it’s recommended that you wear loose clothes and prepare for a little bit of mess.
Why are spa days expensive?
Spa days are expensive because most spas offer luxurious treatments that cannot be found at your local store. For example, they may use anti-aging creams or wrinkle smoothing chemicals that are exclusive to the spa. This is what makes them price their services so highly.
What products will I need?
You will need the following products in order to make your own DIY spa day:
1. Loofah: This is used for exfoliation.
2. Masks (various types): There are many different homemade masks that can be made with ingredients like oatmeal, honey, yogurt, etc. These masks will help nourish the skin.
3. Cleanser: This can be anything from homemade soap to store-bought cleaners with natural ingredients.
4. Exfoliator: This is used for removing dead skin cells and revealing the new, vibrant skin underneath.
5. Toner: These are useful in removing any leftover cleanser or masks.
6. Moisturizer: This is to moisturize the skin after it has been dried from all of the exfoliation.
What can I do?
There are many options when making a DIY spa day, so you can try different things and figure out what works best for your needs. Some ideas include:
1. Product testing: This means that you go through the list of products and use them to see what works best for your skin type. If one doesn’t work, move on to the next.
2. Cleanse: You can start by using a cleanser, followed by an exfoliator, and then toning it off with the cleansing water.
3. Mask: After you have cleansed, you can choose what mask to use on your face. You can apply this then relax for about ten minutes or until it hardens.
Once it has hardened, rinse off the mask and observe the results (e.g., if your pores are smaller after using a pore-tightening mask, if any blemishes have been reduced from a spot treatment type).
4. Exfoliate: After you have used the mask to treat your face, you can then use a loofah or exfoliating gloves to scrub the dry skin away and reveal a younger-looking layer of skin underneath.
5. Moisturize: After scrubbing the toxins away, you can then moisturize your face with moisturizing lotion or oil
Reminders
To make this at-home spa day easy on yourself, it’s recommended that you do not wear clothes that are too tight because it will be difficult to clean up spills when there is tight clothing in the way.
Also, if you plan on using a loofah be sure to wear an old t-shirt as some sting may fall out and stain your clothing (if it does, then simply use laundry soap and warm water to remove the stain).
If you do not want to buy new products for this spa day, go to the dollar store and buy some microwavable cleaning cloths. They work just as well as a loofah if you add water to them after microwaving them for thirty seconds.
When it comes time to choose which masks to use, keep your hair out of your face with a headband, and don’t put the mask on your eyebrows or lipstick area.
This will help keep the mess to a minimum and it’s easier to see what you’re doing without hair getting in the way.
Cornstarch spa
Additionally, you can get the same benefits as an expensive chemical treatment with just one ingredient: Cornstarch!
This is more of a DIY beauty treatment rather than an actual “spa” experience because there won’t be any pedicures or facials involved. However, if done correctly this DIY beauty recipe will leave your skin feeling smooth and soft while also preventing acne!
Why buy expensive chemical treatments at a spa when you can use cornstarch? Cornstarch is a food thickener found in many kitchens. It’s also a natural ingredient that has been used for generations to help with dry skin, poison ivy rashes, chapped lips, and even sunburns!
If you combine cornstarch with water, it will form a thick paste very similar to the consistency of toothpaste. This paste is very cheap and you can achieve great results in just a few minutes!
First, put on an old shirt and pants to keep your skin from getting dirty. Make sure that the clothes are loose because if they’re too tight you will be uncomfortable during the treatment.
You can apply this at night before going to bed so it has plenty of time to soak into the skin.
Most people overlook this step, but it’s important! This creepy-feeling paste will not only moisturize your skin but will also tighten it! You can use a brush or sponge to apply the paste to your body.
At first, you’ll feel that tight feeling, and then as time passes by, your skin will be moisturized. If you end up buying a brush for this DIY spa treatment, it’s okay if they are very cheap because you won’t use them again after the treatment!
This DIY beauty recipe is clean and easy to do in your bathroom. This treatment isn’t very messy so focus on making sure that all your clothes are loose and comfortable. You can use a brush to apply the paste because it will be easier to get it into every inch of your skin!
The cornstarch recipe is easy to make and very cheap. It’s also great for all types of skin including acne-prone, dry, oily, or combination skin! With just cornstarch and water, you can create your own spa day just like the expensive chemical treatments sold at salons or spas.
The best part about this DIY beauty treatment is that it’s so easy to do!
Ending note
Spa days can be expensive because of the luxurious services they offer, but if you make your own spa day at home using simple ingredients from around your house it will be much more cost-efficient.
Try testing the different products to see what works for your skin and don’t forget that you can always use microwavable cleaning cloths if you don’t want to buy a loofah!
Using all of the steps in this article, you’ll have a spa day created at home with no problem.


